Colour Grading for beginners

Colour grading is a critical aspect of post-production that enhances the visual storytelling of a film or video. It involves adjusting and balancing the colors to achieve a specific mood, atmosphere, or visual style. For beginners, the world of colour grading can seem daunting due to the technical skills and artistic sensibility required. This guide aims to demystify colour grading, providing you with the foundational knowledge and practical steps to get started.

What is Colour Grading?

Colour grading is the process of altering and enhancing the colour of a video or film to achieve a desired look. It differs from colour correction, which involves fixing color issues to make the footage look natural. Colour grading goes a step further, creatively manipulating colours to enhance the storytelling.

Why is Colour Grading Important?

    1. Enhances Storytelling: Different colour palettes can evoke various emotions and set the tone of a scene. For example, warm tones can create a sense of coziness, while cool tones can evoke coldness or detachment.

    2. Establishes Consistency: Ensuring that all shots within a scene have a consistent colour scheme helps maintain visual coherence.

    3. Improves Visual Appeal: Well-graded footage looks polished and professional, enhancing the overall production quality.

GETTING STARTED WITH COLOUR GRADING

Understand the Basics of Colour Theory

Colour Wheel: Learn about primary, secondary, and tertiary colours, and how they interact. Understanding complementary colors (opposite on the colour wheel) and analogous colours (next to each other) can help in creating harmonious palettes.

Colour Harmony: Utilise colour harmonies like monochromatic, analogous, and triadic schemes to create balanced and aesthetically pleasing visuals.

Essential Tools and Software

Software: Popular colour grading software includes DaVinci Resolve, Adobe Premiere Pro, and Final Cut Pro X. Each has its own set of tools and features tailored for colour grading.

Scopes and Monitors: Tools like waveform monitors, vectorscopes, and histogram displays help you analyse and adjust colours accurately.

STEPS TO COLOUR GRADING

1. Import Your Footage
  • Begin by importing your footage into your chosen colour grading software. Organise your clips and create a timeline for easy navigation.
2. Perform Basic Colour Correction
  • White Balance: Adjust the white balance to ensure that whites appear neutral and not tinted. This step corrects any colour cast caused by lighting conditions.

  • Exposure: Adjust the exposure to ensure the image is neither too dark (underexposed) nor too bright (overexposed). Use the waveform monitor to guide you.

  • Contrast: Increase or decrease contrast to add depth to the image. Adjust the shadows, midtones, and highlights to create a balanced look.
3. Apply Colour Grading
  • Primary Colour Grading: Start with overall adjustments that affect the entire image. Use tools like colour wheels (lift, gamma, gain) to tweak the shadows, midtones, and highlights.

  • Secondary Colour Grading: Focus on specific areas or colours within the image. Use masks, power windows, or keying techniques to isolate and adjust individual elements.

  • Look-Up Tables (LUTs): LUTs are pre-set colour profiles that can give your footage a specific look quickly. They’re useful for achieving a particular style or look but should be used as a starting point rather than a final solution.
  • 4. Fine-Tuning and Polishing
    • Skin Tones: Pay special attention to skin tones, ensuring they look natural. Use secondary colour correction to adjust and refine skin tones without affecting the rest of the image.

    • Consistency: Ensure colour consistency across all clips in a scene. Match the colour grading settings between clips to maintain a coherent look.

    • Creative Adjustments: Add creative effects like vignettes, film grain, or colour overlays to enhance the mood and style of your footage.
    5. Review and Export
    • Playback: Watch your footage on different monitors to ensure the color grading looks good across various devices. Make any necessary adjustments.

    • Export Settings: Choose the appropriate export settings for your project. Ensure you maintain the colour quality by exporting in a high-resolution format.

Tips for Successful Color Grading

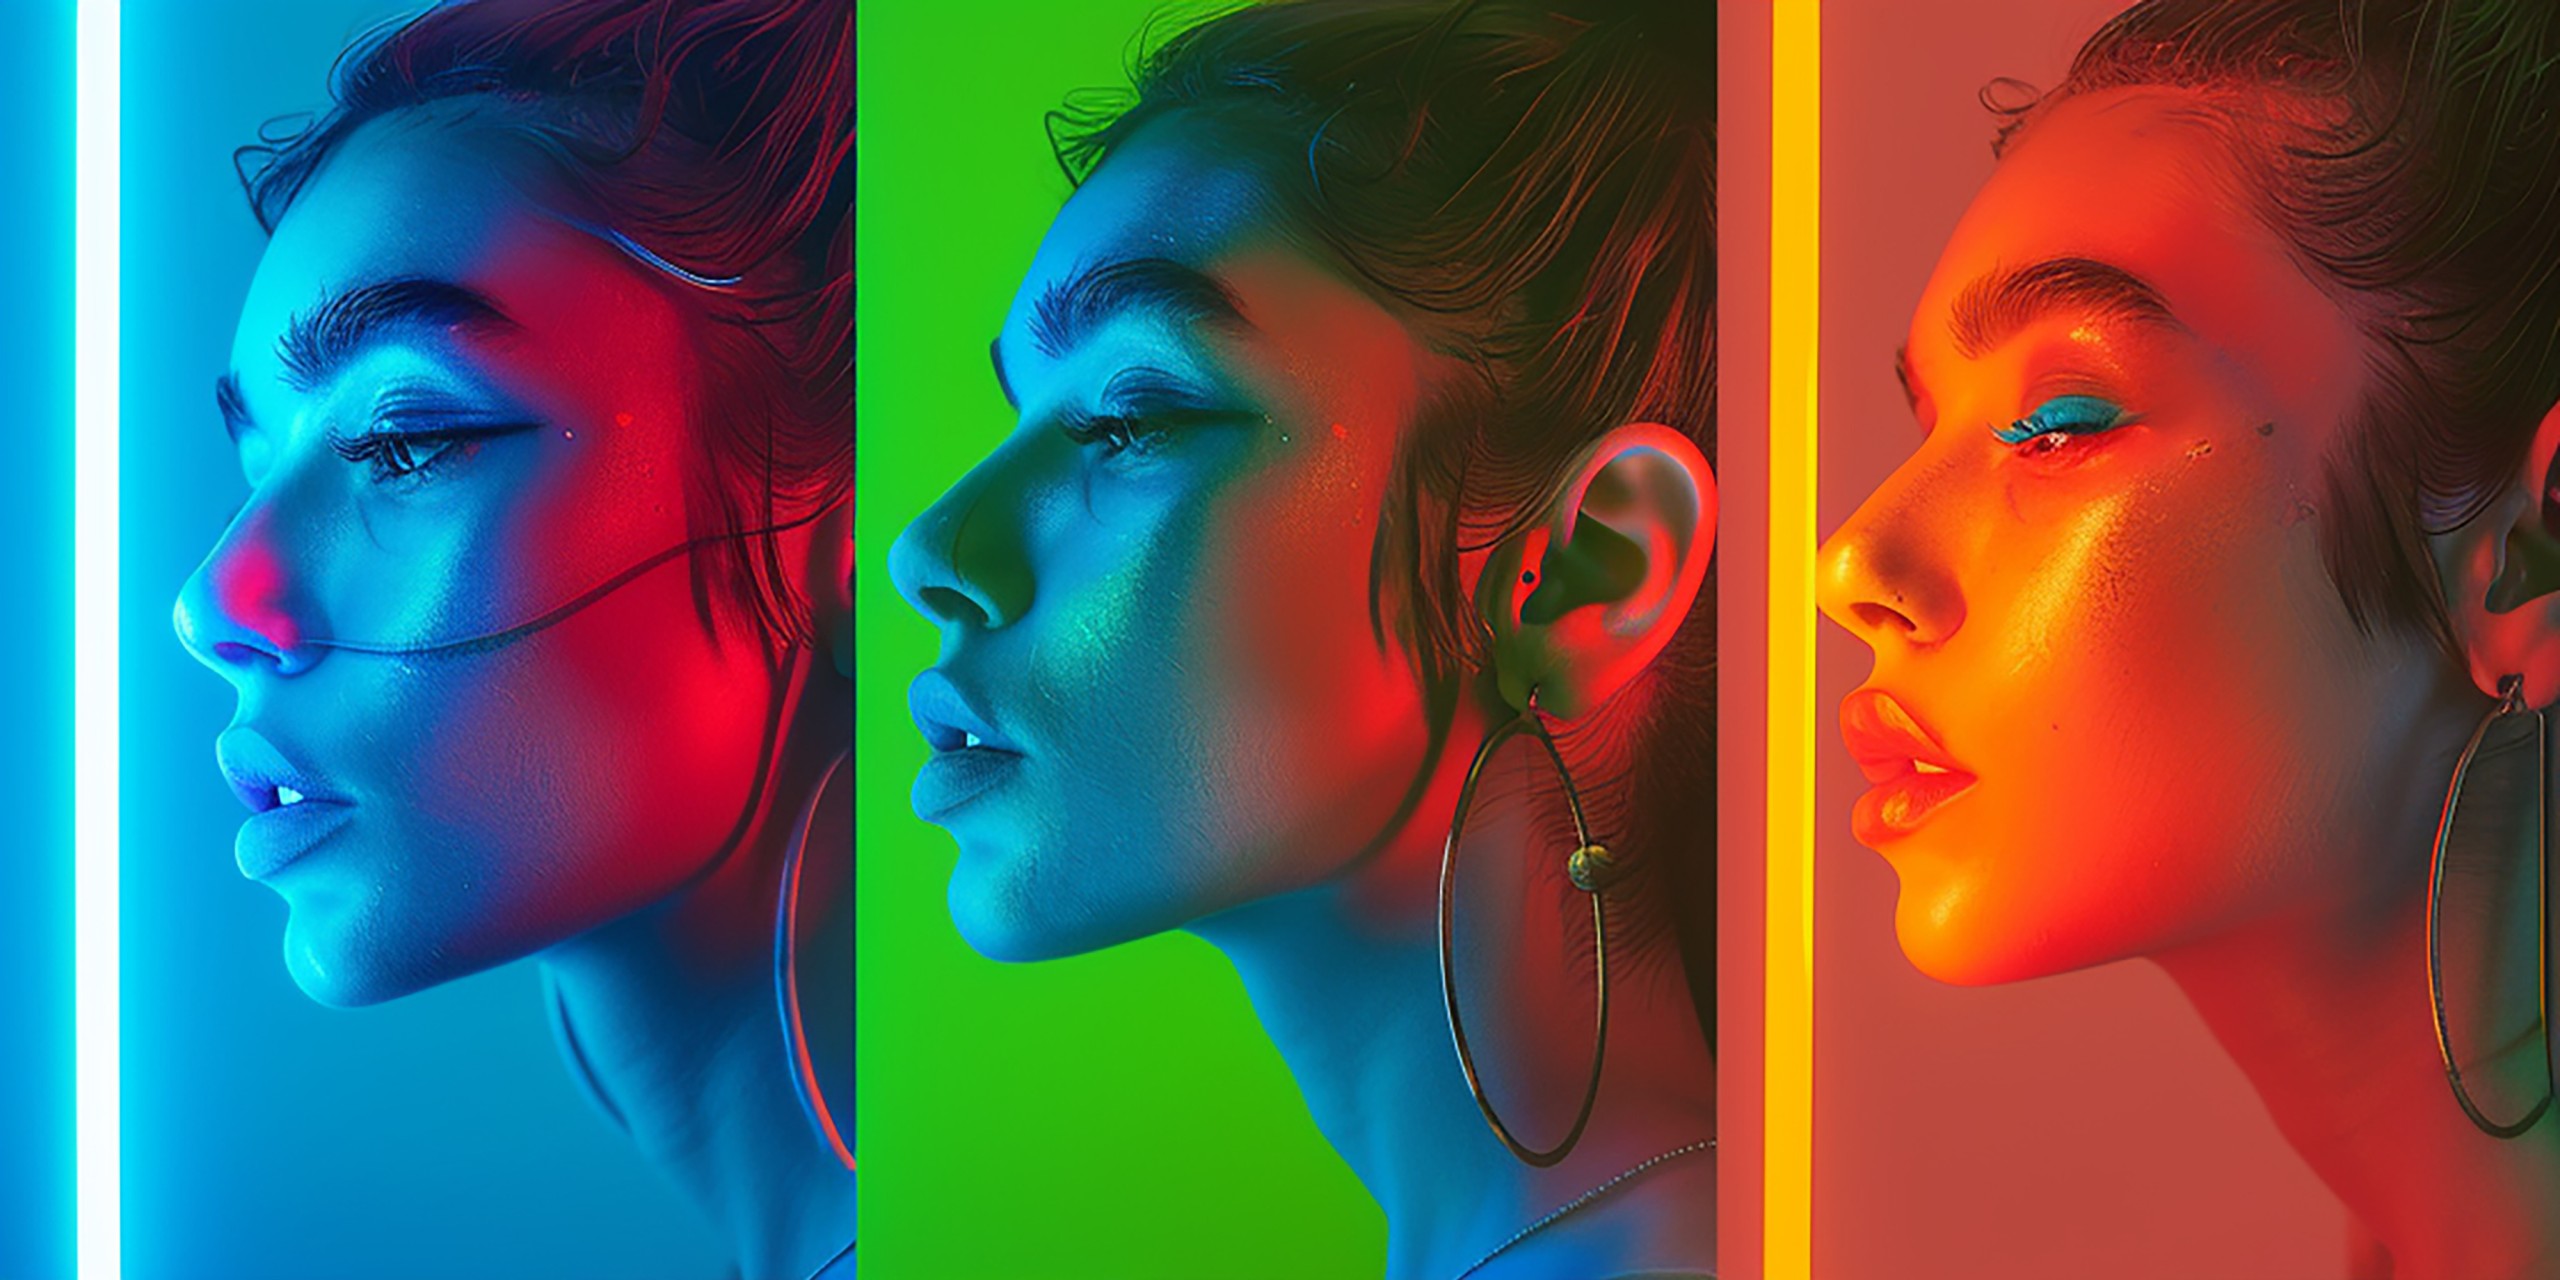
  1. Use Reference Images: Reference images or stills from films with a look you admire can guide your grading process. These references help you achieve a specific style and ensure your grading choices are intentional.

  2. Practice and Experiment: Color grading is both a technical and creative process. Regular practice and experimentation with different techniques and styles will help you develop your skills.

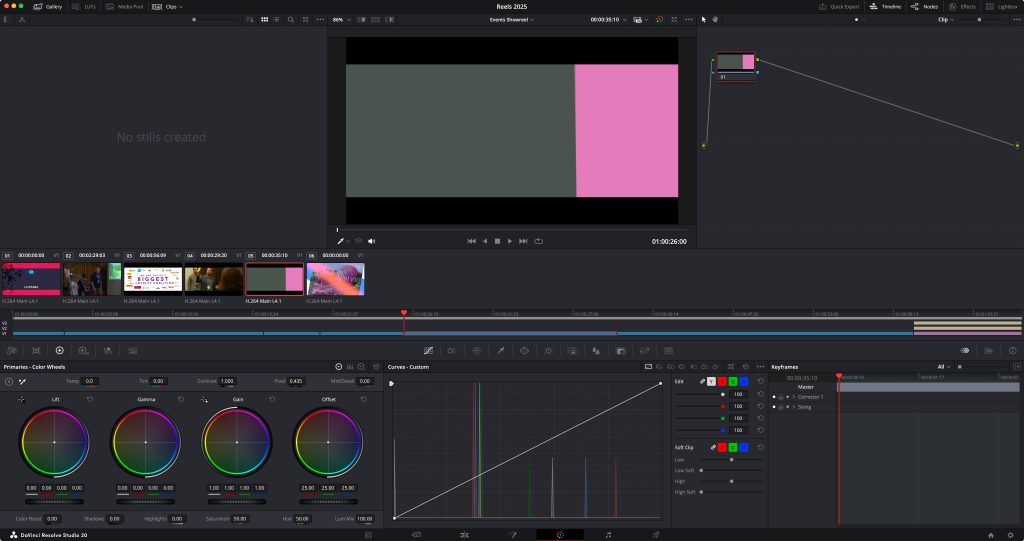
  3. Stay Organised: Keep your project files, clips, and grading settings well-organized. This makes it easier to make adjustments and ensures a smooth workflow.

  4. Learn from Others: Study the work of professional colorists and seek feedback from peers. Online tutorials, courses, and forums can provide valuable insights and inspiration.
Color grading is an essential skill for any filmmaker or video editor, enhancing the visual storytelling of a project. While it can be complex, starting with the basics and gradually building your expertise through practice and experimentation can lead to impressive results. By understanding color theory, utilizing the right tools, and following a structured workflow, beginners can effectively tackle color grading and elevate the quality of their visual content.
Leave a comment

Your email address will not be published. Required fields are marked *